05-08-2014

Ring Bowl- Easy Mother’s Day

Ring Bowl Finished

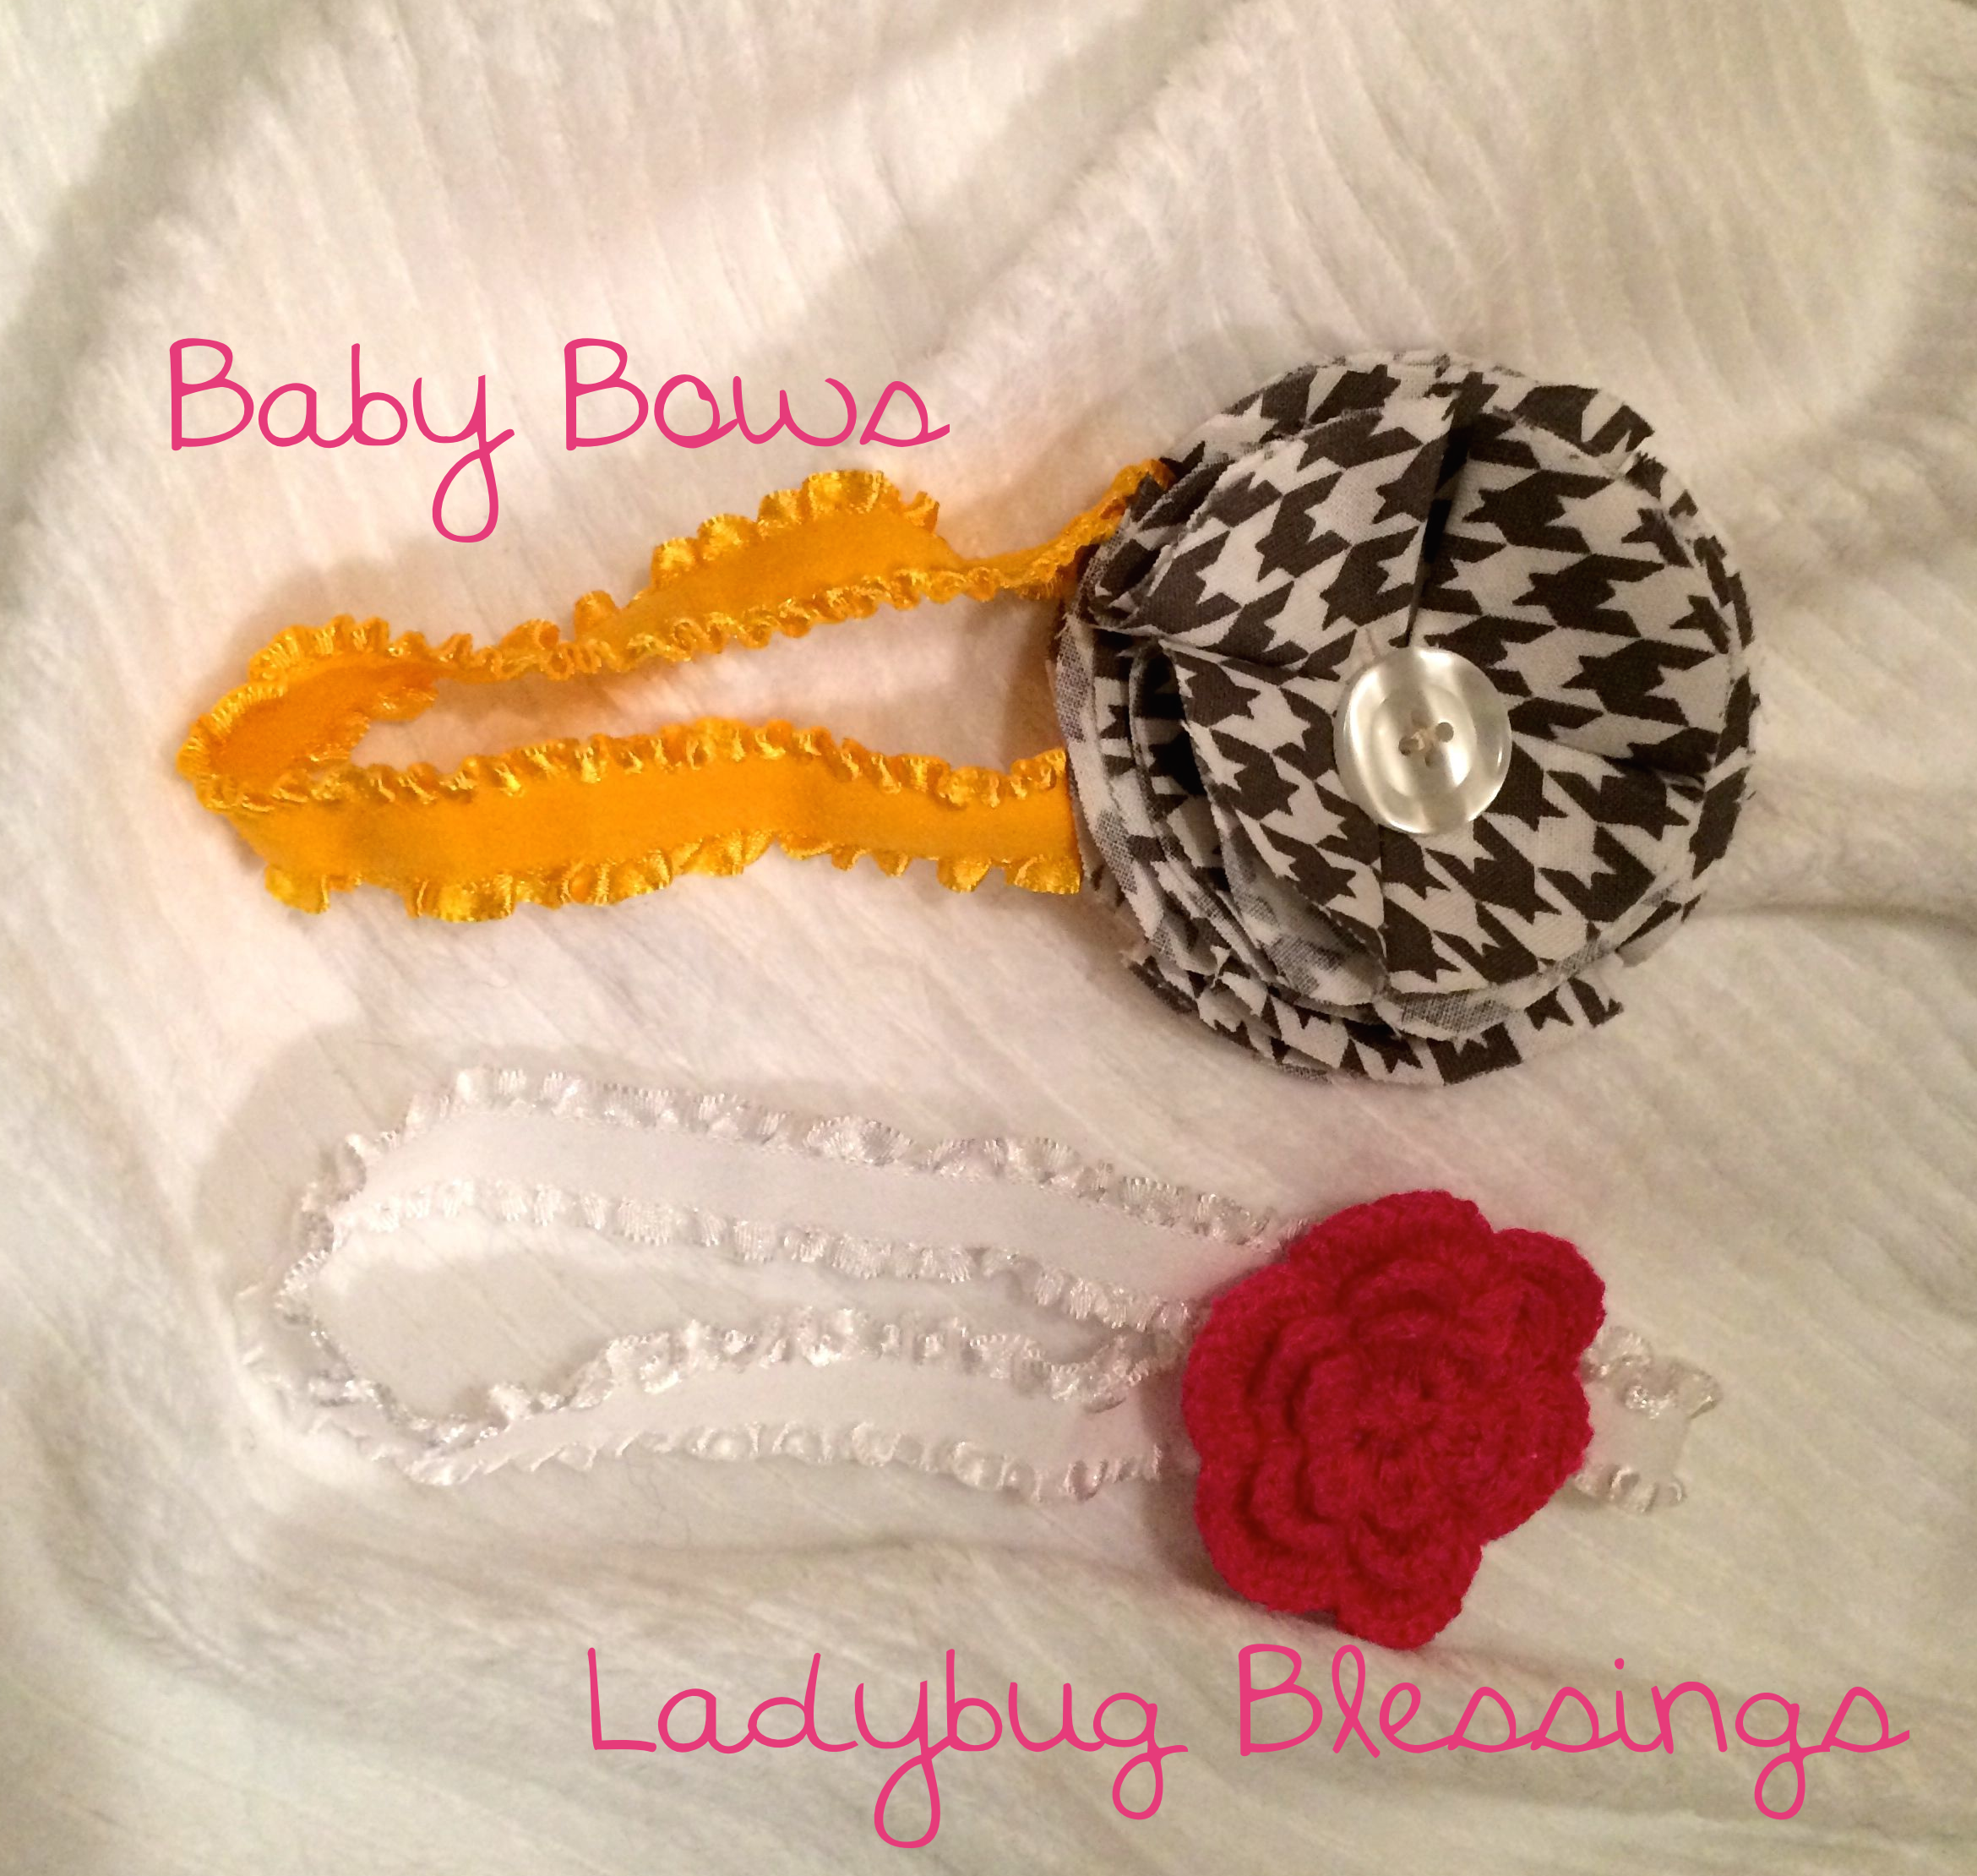
So I saw an article in Better Homes & Garden about making ring bowls using Sculpey Clay and wanted to try it.  It is the perfect gift to have a child make for mother’s day.  Now, my mom will be getting one because I made it for her (hopefully she will find it sweet!), but if you are looking for something simple for your mom or grandmother, this is easy!

Supplies Needed:

Polymer Clay (I used Sculpey but you can use Fimo as well)

Stamps

I doubt this even needs lots of introduction but I did use almost an entire square of the clay.  I rolled it into a ball and then flattened it.  I then stamped ‘i love you mom’ on it just using regular ink stamps.  I then used a decorative stamp for the surrounding area.  The place it in the over for 30 minutes @ 265 degrees.  A great craft to have the kids do for Mom!


05-07-2014

Mother’s Day Printable Tags

Mother's Day Tags Wrapped

So Mother’s Day is this Sunday and I wanted to make some pretty tags to include on my mom’s present.  I made some pretty tags with sentimental sayings to attach to her candle.  She rarely looks at my blog so hopefully she doesn’t see this before she gets her present in the mail!


Mother's Day Printable TagsClick for the PDF download

04-24-2014

Make your own Herb Garden

Herb Garden 1

I had no idea if this was actually going to work when I started this project but I was super impressed with it actually did!  I don’t have the best green thumb and didn’t have the highest expectations for myself.  I purchase terracotta pots and saucers at the store.  I painted them a pretty blue that I had and used chalkboard paint for the tops so I can write which herb is in them.  Then I planted the seats and waited and waited.  Pretty soon they were growing!

IMG_2504

It has taken about two weeks for me to get to this much sprouting but I am pretty excited for them!

IMG_8379

04-11-2014

Beautiful Baby Bows

Bows Header

I think making headbands for kids is so much fun.  They are a quick craft you can knock out and you feel accomplished instead of one that can take days.  If I felt comfortable wearing the headbands, I probably would wear them as well!  I am sure y’all know how to make them but here are my steps anyway….

I purchased elastic at JoAnn’s.  I love that they now have the elastic as I used to have to purchase it online.  I picked a cute ruffly one in white and then one in yellow.  I purchased the pink crochet flower as well, but you could easily make that.  I sewed it onto a felt backing and then onto the ribbon.

I then made the hounds tooth one.

IMG_0388

Supplies: I just randomly cut the circles for the flowers.  I cut four of them.  I later on (not in this picture) cut smaller flowers to give it another layer.

IMG_0389

First fold the circle in half

IMG_0390

Then fold it in half again.  This is what you are going to sew.

IMG_0391

Sew it onto your felt.  Some people use a hot glue gun but I don’t like how the hot glue gun can leave bumps and felt the sewing made it more secure.

IMG_0392

Once you have all four petals sewn on it will look like this.  Now you could leave it like this, sew the button in the middle and be done but I wanted to add another layer of petals.  You do the exact same thing.  I made these circles a little smaller than the originals.

IMG_0394